
Painting Interior Walls: Surface Prep Is the Whole Job
A flawless paint finish depends almost entirely on preparation. Walk through the steps that professionals never skip before opening a tin.
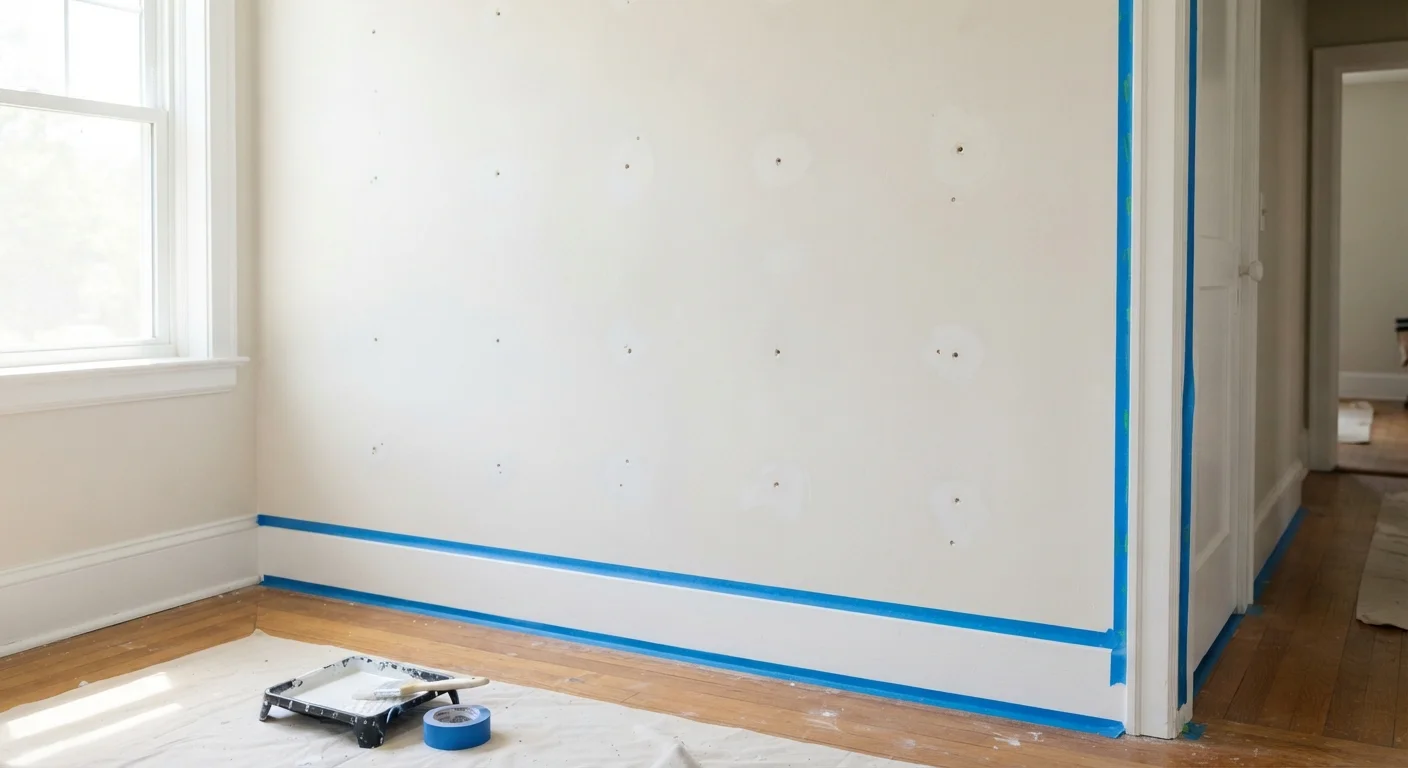
Photo: SummarizedReads.net | Just Read It! editorial
—— In This Article
Key Takeaways
- Surface preparation - not paint quality - is the primary factor in a lasting, smooth finish.
- Skipping cleaning, patching, or priming leads to peeling, bubbling, and visible imperfections within months.
- Most prep work requires only basic tools and materials available at any hardware store.
- Primer is essential when switching colors dramatically, painting over repairs, or covering stains.
- Allowing adequate dry time between prep stages prevents trapping moisture under the finish coat.
Why Preparation Determines the Final Result
Ask any professional painter what separates a lasting finish from one that chips and peels within a year, and the answer is consistent: preparation. Paint itself is relatively forgiving - modern interior paints have excellent adhesion and coverage. What paint cannot do is hide a dirty surface, bridge over a crack, or bond securely to a glossy or powdery substrate. Those problems show through, and they get worse over time.
The encouraging reality for DIYers is that thorough prep work requires patience and attention more than special skill. The steps that follow are exactly what experienced painters do before opening a can - and none of them require professional tools or expertise. Before you start, make sure you have all the supplies you need.
Spackle or joint compound
Fills nail holes, small cracks, and minor dents in drywall or plaster before painting.
Putty knife (3-6 inch)
Applies and feathers spackle or compound smoothly into wall imperfections.
Sandpaper (120- and 220-grit) or sanding sponge
Smooths patched areas and scuffs glossy surfaces so primer and paint adhere properly.
Painter's tape
Masks trim, ceilings, and outlets to create clean, straight edges.
Primer
Seals repairs, evens out surface porosity, and improves paint adhesion and color accuracy.
TSP substitute or mild degreaser
Cleans grease, grime, and contaminants from walls so paint bonds correctly.
Drop cloths
Protects floors and furniture from dust, spackle, and paint drips during prep.
Bright work light or utility lamp
Rakes light across the wall surface to reveal imperfections that overhead lighting misses.
What you will need
If you're also thinking about larger wall changes - such as whether a wall can be removed as part of a renovation - our article on understanding load-bearing walls is worth reading before you begin any structural work.
Step-by-Step Surface Preparation
Mold or Moisture? Stop Before You Paint
If you spot dark staining, soft drywall, or a musty smell, do not paint over it. These are signs of moisture intrusion or mold growth that paint will not fix - and covering them can make the underlying problem worse. Address the source of moisture first and, if mold covers an area larger than about 10 square feet, consult a qualified remediation professional before proceeding.
Clear and protect the room
Move furniture away from the walls - ideally out of the room entirely. Lay drop cloths over anything that remains. Remove outlet covers, switch plates, and any wall fixtures. Protecting the space now saves significant cleanup time and prevents accidental drips on surfaces you care about.
Inspect the walls thoroughly under raking light
Hold a bright work light or utility lamp at a low angle to the wall surface. This side-lighting technique - called raking light - casts shadows across even hairline cracks, nail pops, and uneven texture that standard overhead lighting hides entirely. Mark every imperfection with a pencil so nothing gets missed during patching.
Clean the walls
Paint bonds to clean surfaces, not to dust, grease, or residue. Wash walls using a TSP substitute (trisodium phosphate substitute, a common heavy-duty cleaner) or a mild dish-soap solution, working from the bottom up to prevent streaks. Pay particular attention to areas around light switches, door frames, and kitchen-adjacent walls where grease accumulates. Rinse with clean water and allow the wall to dry completely - typically several hours at minimum.
Repair cracks, holes, and nail pops
Use a putty knife to press spackle or lightweight joint compound firmly into each hole or crack. For nail pops, drive the nail slightly deeper with a hammer and fill the dimple. Apply the compound in thin layers - thick applications shrink as they dry and leave depressions. For cracks wider than about 1/8 inch, consider embedding mesh tape before applying compound for a stronger repair. Let each layer dry completely before adding the next.
Sand repairs smooth and feather edges
Once repairs are fully dry, sand patched areas with 120-grit sandpaper to remove high spots, then finish with 220-grit for a smooth result. The goal is to feather the edges of each repair so they blend seamlessly into the surrounding wall with no raised border. Wipe sanding dust from the entire wall using a slightly damp cloth or a tack cloth before moving on.
Apply painter's tape
Run painter's tape along the ceiling line, baseboard trim, door casings, and window frames. Press the tape edge down firmly with a putty knife or your fingernail - a loose edge allows paint to bleed underneath. For the cleanest results, apply tape right before you prime, not days in advance, as extended contact can pull paint off finished trim.
Prime the walls
Primer is not optional when you've made repairs, are covering a dark or stained surface, or are applying a dramatically different color. A coat of primer seals patched areas (which absorb paint unevenly and show as dull spots, called flashing), evens out the wall's porosity, and gives the topcoat a consistent surface to grip. Roll primer the same way you'll roll paint - in a 'W' or 'M' pattern - and cut in around edges with a brush first. Allow to dry fully before painting.
For bathroom surfaces, see our guide on moisture-resistant coatings in bathrooms for additional considerations before you prime.
Test Your Wall Before Sanding
Older homes built before 1978 may have lead-based paint on walls and trim. Before sanding any painted surface in an older home, use an inexpensive lead test kit (available at hardware stores) to check. If lead is detected, sanding should be done only with appropriate containment and respirator precautions, or left to a certified lead-safe contractor.
Don't Rush Drying Times
Applying the next prep stage - or paint itself - before surfaces are fully dry is one of the most common DIY mistakes. Trapped moisture causes bubbling, adhesion failure, and peeling paint. Always follow the manufacturer's stated dry times on joint compound, spackle, and primer, and factor in your room's humidity level, which can extend drying considerably.
Once your walls are prepped and primed, choosing the right finish for each room matters as much as the color itself. Our paint finish reference guide explains how sheen level affects durability, washability, and the way light reads in a room - a useful next step before you buy.

Home Editorial Team
Home Editorial Team is the collective byline for our editorial team and contributor network. Articles published under this byline or an editorial pen name are researched, written, and reviewed according to our editorial standards for clarity, consistency, and independence before publication.
View author profile