
Your Weekend Patch Job Is Failing for These Reasons
Drywall repairs that bubble, crack, or show through paint usually come down to a few avoidable missteps. Here's what's going wrong and how to fix it.
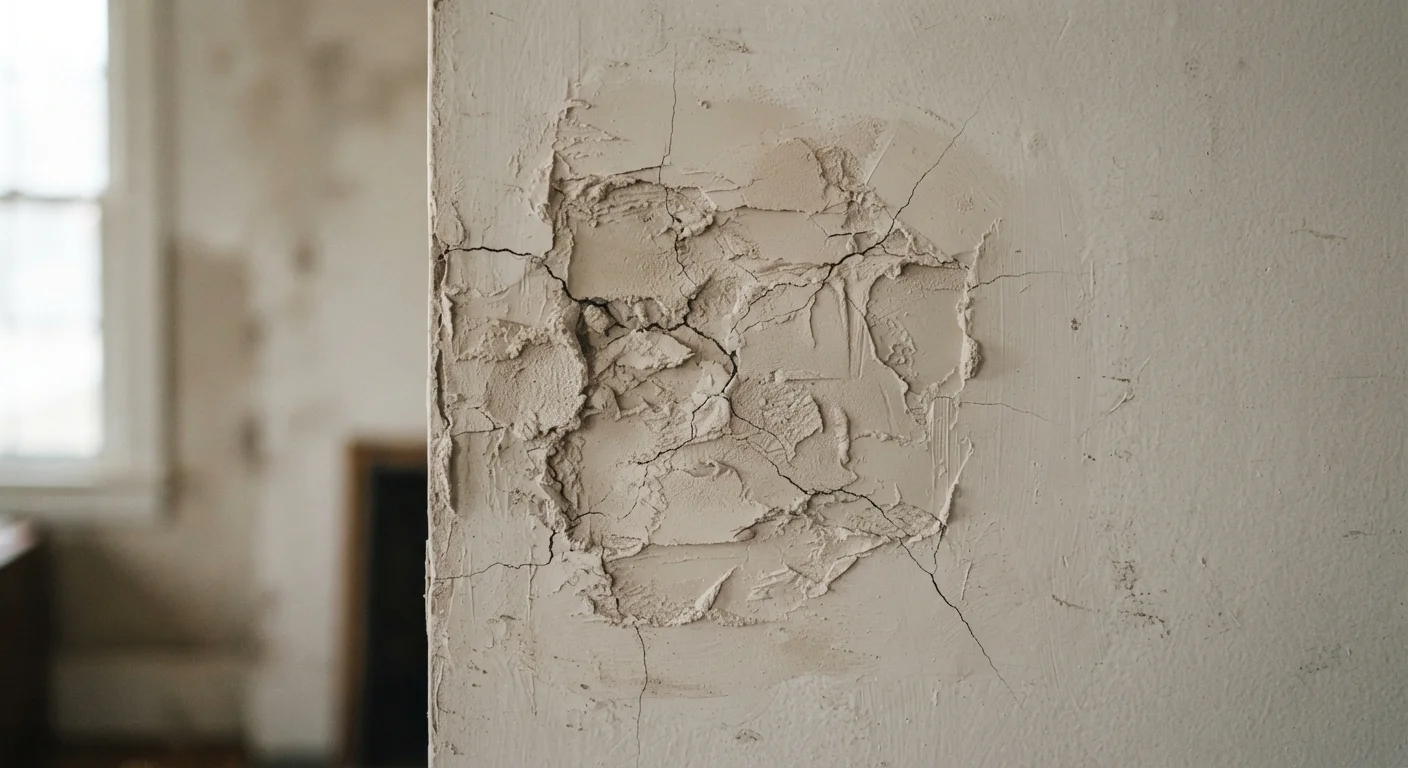
Photo: SummarizedReads.net | Just Read It! editorial
—— In This Article
Key Takeaways
- Skipping surface prep - like removing loose material or cleaning dust - causes compound to lose adhesion.
- Applying compound too thick in one pass leads to cracking as it dries and shrinks.
- Failing to feather edges wide enough makes patches visible under paint.
- Not priming patched areas before painting causes uneven sheen and texture.
- Rushing drying time between coats is one of the most common reasons repairs fail.
Why Weekend Drywall Patches So Often Fall Short
Patching a hole or crack in drywall looks deceptively simple - grab some spackle, slap it on, sand it down, paint over it. But if you've been left staring at a patch that bubbled, cracked, or shows through paint like a ghost, you already know there's more to it. The good news: drywall repair is genuinely learnable. The problems almost always trace back to a short list of avoidable mistakes, and understanding them is most of the battle.
This isn't a job that requires expensive tools or professional training, but it does reward patience and the right sequence of steps. Before you reach for that tub of compound again, let's look at what's actually going wrong.
Not preparing the surface before applying compound.
Why it happens: When a repair looks straightforward, it's tempting to skip cleaning steps and go straight to filling. Dust, grease, loose paper facing, and paint flakes all seem minor until the patch fails.
Applying compound too thick in a single coat.
Why it happens: The natural instinct is to fill a hole completely in one go. Joint compound (also called mud) shrinks as it loses moisture, so a thick application will crack as it dries - sometimes deeply.
Not feathering the edges of the patch far enough out from the repair.
Why it happens: Beginners tend to keep compound tight to the damaged area to minimize work. But a patch with abrupt edges catches light and shows through even multiple coats of paint.
Sanding too aggressively or skipping sanding between coats.
Why it happens: Sanding feels like the tedious final step, so it's often rushed. Over-sanding can cut into the paper facing of the surrounding drywall, creating new texture problems. Under-sanding leaves ridges that show up under paint.
Skipping primer before painting the patched area.
Why it happens: If the patched spot looks smooth and the color matches, painting directly over it seems fine. But dried joint compound is porous and absorbs paint unevenly, creating a flat or dull spot - sometimes called "flashing" - that stands out against the rest of the wall.
Rushing drying time between coats.
Why it happens: A repair that looks dry on the surface may still be wet underneath - especially in humid rooms or during cooler months. Painting or sanding too soon traps moisture and can cause bubbling, peeling, or adhesion failure later.
What Good Results Actually Require
Once you've corrected the mistakes above, the process becomes much more reliable. The pattern that works: clean and prime the substrate, apply compound in thin layers (two or three passes rather than one thick one), let each coat dry completely, sand gradually from coarser to finer grit, and prime before painting. That last step - priming patched spots - matters especially if you're trying to match a flat or eggshell finish. Unprimed compound absorbs paint differently than the surrounding wall, leaving a dull circle even when the texture is perfect.
For larger repairs - anything wider than about six inches, or patches near corners and seams - it's worth researching mesh tape or paper tape reinforcement. These add tensile strength that prevents cracks from forming at the edges of the patch over time. And if you're heading toward painting right after, our guide on interior wall surface prep walks through the professional steps that make a real difference in the final finish.
When to Call a Professional
If the damage involves a large section of drywall, recurring cracks that return after patching, or cracks accompanied by sagging or soft spots, these can signal underlying structural or moisture issues. Drywall damage caused by water intrusion, in particular, needs the moisture source fixed before any surface repair will hold. In these cases, consult a licensed contractor rather than attempting a cosmetic fix on top of a deeper problem.
Drywall repair is a skill that stacks - each project leaves you faster and more confident than the last. Skipping steps feels like a shortcut, but it almost always means doing the job twice.

Home Editorial Team
Home Editorial Team is the collective byline for our editorial team and contributor network. Articles published under this byline or an editorial pen name are researched, written, and reviewed according to our editorial standards for clarity, consistency, and independence before publication.
View author profile