
Grout Cleaning, Sealing, and Repair: A Room-by-Room Maintenance Plan
Grout discolours, cracks, and grows mould when neglected. A practical maintenance approach for keeping tiled surfaces in good shape long-term.
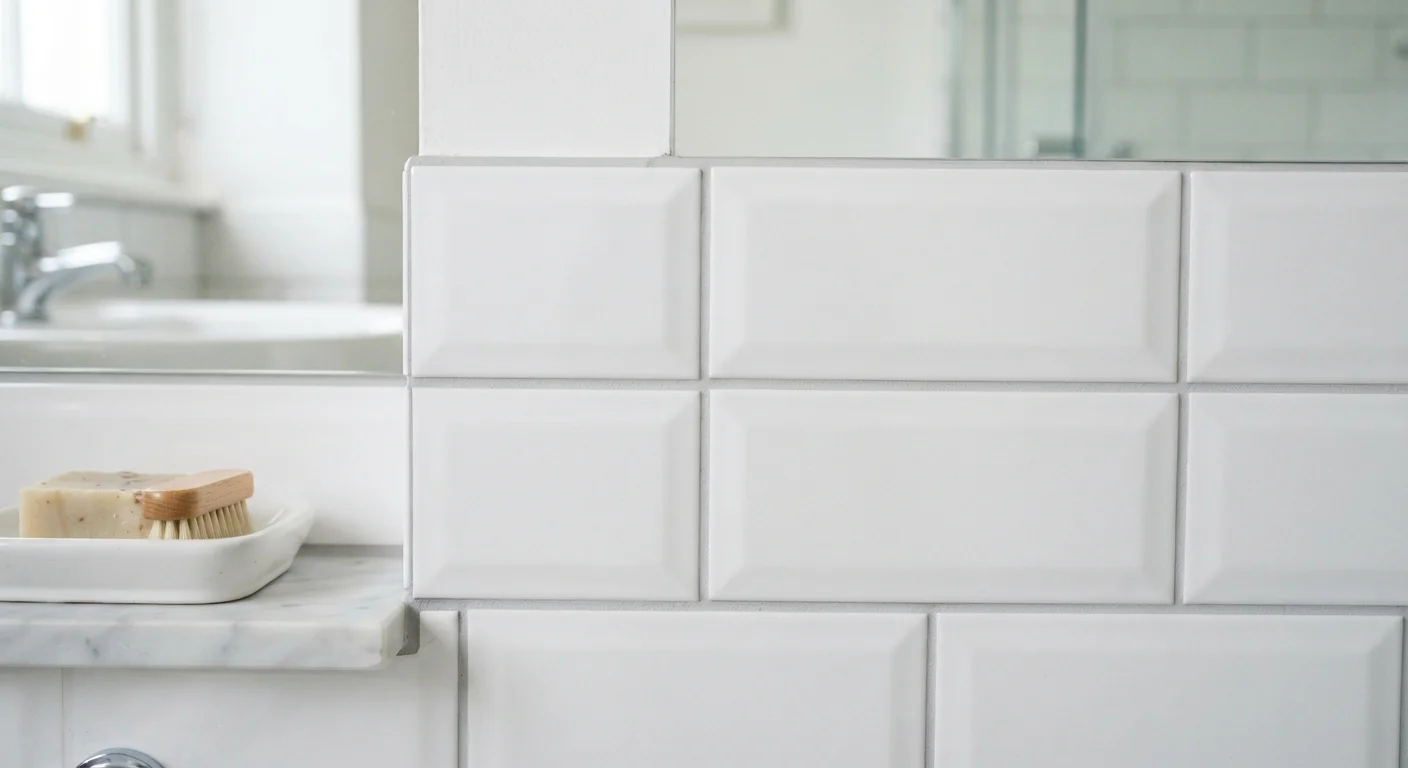
Photo: SummarizedReads.net | Just Read It! editorial
—— In This Article
Key Takeaways
- Different rooms need different grout maintenance schedules based on moisture and foot traffic levels.
- Sealing grout every one to two years significantly reduces staining and mould growth.
- Cracked or crumbling grout should be regrouted promptly to prevent water damage behind tiles.
- Most grout cleaning and minor repairs are DIY-friendly with basic tools and affordable materials.
- Knowing when to use caulk instead of grout at joints and corners prevents recurring cracks.
Why Grout Degrades - and Why It Matters
Grout is a cement-based filler that bonds tiles together and creates a finished surface. Unlike tile itself, grout is porous, which makes it vulnerable to moisture, cleaning products, foot traffic, and everyday grime. Left unattended, grout discolours, grows mould, cracks, and eventually fails - allowing water to seep behind tiles where it can damage substrate materials like cement board or drywall.
The good news is that grout maintenance is straightforward once you understand what each room demands. A bathroom shower needs far more frequent attention than a kitchen backsplash, and a mudroom floor faces different stressors than a bathroom vanity surround. Matching your maintenance effort to each location keeps the work manageable and the costs low.
For a related look at how deferred upkeep compounds over time, see our guide to appliance maintenance tasks - the same principle applies to tile and grout.
Room-by-Room Maintenance Schedule
Each tiled area in your home has its own risk profile. Here is a practical framework for thinking through each one:
- Shower and tub surrounds: High moisture, daily use. Scrub grout monthly with a stiff brush and pH-neutral cleaner. Inspect for mould and cracking every three months. Reseal annually.
- Bathroom floor: Moderate moisture, foot traffic. Deep clean every two to three months. Reseal every one to two years, or when water no longer beads on the surface.
- Kitchen backsplash: Grease and food splatter are the main threats. Wipe down weekly; deep clean with a degreasing cleaner quarterly. Reseal every two years.
- Kitchen floor: Heavy foot traffic and spills. Mop regularly with a grout-safe cleaner. Reseal every one to two years.
- Mudroom and entryway: Dirt, grit, and outdoor moisture. Sweep frequently to prevent abrasion. Deep clean monthly. Reseal annually given the heavier wear.
- Laundry room: Often overlooked. Check for moisture buildup near the washer and floor drain. Clean and inspect every six months; reseal every two years.
1-2 years
Recommended grout sealing interval for wet rooms
Most penetrating sealer manufacturers and tile industry guidelines recommend resealing cement-based grout in bathrooms and kitchens every one to two years depending on use.
2-3 mm
Minimum grout removal depth for lasting repairs
Tile installation professionals generally recommend removing damaged grout to at least 2-3 mm deep to ensure adequate bonding depth for replacement grout material.
Cleaning Grout Effectively Without Damaging It
The most common grout-cleaning mistake is reaching for harsh chemicals - bleach, vinegar, or acidic bathroom sprays - without considering the grout type. Acid-based cleaners can etch cement grout and damage epoxy grout over time. A pH-neutral tile and grout cleaner is the safest everyday option and works well for most surface grime.
For stubborn staining, an oxygen bleach solution (sodium percarbonate mixed with warm water) is effective and gentler than chlorine bleach. Apply it, let it dwell for 10 to 15 minutes, then scrub with a stiff nylon brush - never a metal-bristle brush, which can scratch tile and gouge grout. For mould that has penetrated deeper into the grout, a diluted chlorine bleach solution used sparingly and rinsed thoroughly can help, but ventilate the room well and test a small area first.
Protect Natural Stone Tiles Differently
If your tiled surface includes marble, travertine, or slate, choose cleaners and sealers formulated specifically for natural stone. Standard cement grout sealers are usually fine, but acidic cleaners - including some commercial bathroom sprays - can permanently etch polished stone surfaces. When in doubt, check the tile manufacturer's care instructions before applying any product.
Steam cleaners are also highly effective and chemical-free - useful for households with sensitivities or for natural stone tile where cleaners must be chosen carefully.
Sealing: When, Why, and How
Sealing creates a protective barrier that slows moisture absorption and makes future cleaning easier. Most cement-based grout (the standard type in homes) benefits from sealing; epoxy grout, which is non-porous, generally does not need it.
The water-bead test is the simplest way to know when resealing is due: sprinkle a few drops of water on the grout. If they bead up and sit on the surface, the seal is holding. If the water soaks in within a minute or two, it is time to reseal.
Before sealing, the grout must be fully clean and dry - typically 24 hours after a deep clean. Apply a penetrating (impregnating) sealer with a small foam applicator or brush, working in manageable sections. Wipe away excess before it dries on tile faces. Most penetrating sealers are ready for light use within a few hours and fully cured within 48 to 72 hours. Topical sealers, which sit on the surface rather than penetrating, are less durable and more prone to peeling.
Not sure whether your corner joints need grout or caulk? Our article on caulk vs. grout differences explains which material belongs in each location - a common source of recurring cracks when misapplied.
Test your sealer annually using the water-bead method before assuming protection is still active.
Sealer degrades gradually and gives no visible warning until it has failed. Annual testing catches the drop-off before water infiltration begins and keeps resealing on a useful schedule rather than a guessed one.
Remove cracked or hollow-sounding grout fully before applying fresh material.
Applying new grout over compromised grout produces a weak bond that will fail again quickly. Full removal gives the repair the same substrate that a new installation would have.
Use pH-neutral cleaners for routine grout maintenance to avoid surface erosion over time.
Acidic or highly alkaline cleaners break down cement binders in grout with repeated use, widening joints and increasing porosity. Neutral cleaners lift grime without this trade-off.
Replace grout with flexible caulk at all movement joints - corners, tub edges, and floor-to-wall transitions.
These joints flex as structures settle and temperatures change. Rigid grout cannot accommodate movement and will crack repeatedly. Caulk is designed to move with the joint.
Allow fresh grout to cure fully before sealing - typically 48 to 72 hours minimum.
Grout releases moisture as it cures. Sealing too early traps that moisture inside, which can weaken the grout and cause efflorescence (white mineral deposits) to form on the surface.
Repairing Cracked or Missing Grout
Minor grout repairs are well within DIY range and should not be deferred. Cracked or missing grout lets water infiltrate tile assemblies, which can eventually loosen tiles or cause substrate rot - far more expensive problems to fix.
To regrout a section, first remove the damaged grout with an oscillating multi-tool fitted with a grout-removal blade, or a manual grout saw. Remove grout to a depth of at least 2 to 3 millimetres without damaging tile edges. Vacuum out the debris, then dampen the joint slightly before applying fresh grout mixed to the manufacturer's consistency. Pack it firmly with a rubber float, working at a diagonal to the joints. After it sets to a firm haze (check the product instructions), wipe down with a damp sponge in circular motions, then buff the tile haze away with a dry cloth once fully cured.
Keep in mind that colour-matching existing grout can be difficult, especially in older homes. A sample test in a hidden area is worth the effort before committing to a full repair. And remember: at movement joints - corners, the seam where tile meets the tub, or where floor meets wall - caulk replaces grout. Using rigid grout in these locations leads to the same cracking pattern repeating, because those joints flex with building movement.
This article is intended for general home maintenance education. Always verify local building codes and consult a licensed contractor for structural, electrical, plumbing, or water-damage-related concerns before undertaking repairs.

Home Editorial Team
Home Editorial Team is the collective byline for our editorial team and contributor network. Articles published under this byline or an editorial pen name are researched, written, and reviewed according to our editorial standards for clarity, consistency, and independence before publication.
View author profile