
Appliance Maintenance Tasks Most People Keep Putting Off
Skipping routine upkeep shortens appliance life significantly. Here are the maintenance steps that make the biggest difference — and how to do them.
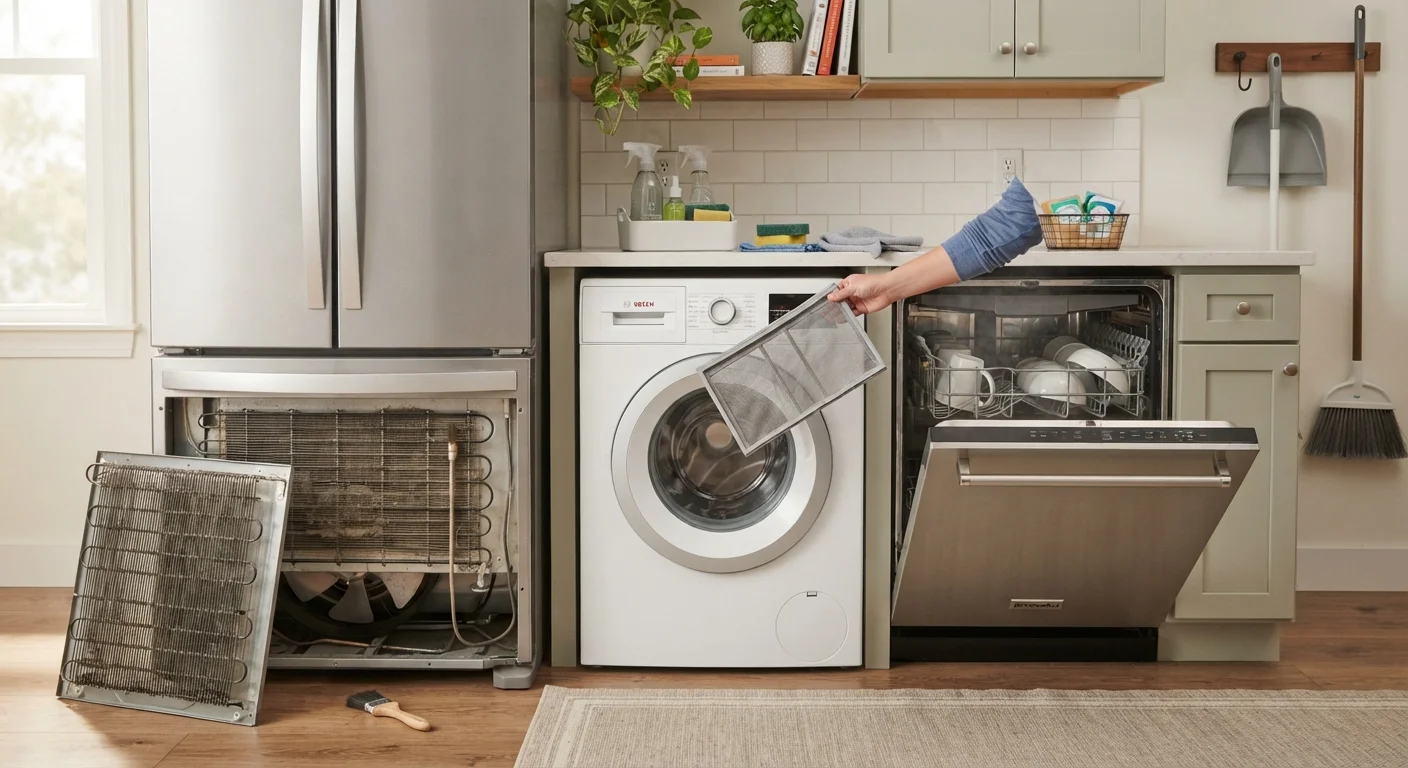
Photo: SummarizedReads.net | Just Read It! editorial
—— In This Article
Key Takeaways
- Most skipped appliance maintenance tasks take under 30 minutes and cost little or nothing.
- Neglected upkeep shortens appliance lifespan and quietly raises energy bills over time.
- Manufacturer manuals remain the most reliable source for task frequency and specifications.
- Several common maintenance steps are safe for homeowners; others require a licensed technician.
- Staying consistent with small tasks can delay expensive repairs or premature replacements.
Why Routine Appliance Upkeep Gets Skipped
Most appliances fail gradually, not overnight. That slow decline is exactly why maintenance keeps getting pushed to next weekend - and then next month. When nothing is visibly broken, it's easy to assume nothing needs attention. But deferred upkeep quietly shortens the useful life of equipment you've already paid for, and often inflates the energy bill in the meantime. As our guide on the hidden costs of running household appliances explains, purchase price is just the beginning of what you spend on home appliances.
The tasks below are the ones most commonly skipped - not because they're difficult, but because they're invisible until something goes wrong. Each one is straightforward enough for most homeowners to handle safely, though we note where a professional should be involved.
Clean refrigerator condenser coils
Condenser coils release heat from the refrigerant that keeps your fridge cold. When they're coated in dust and pet hair, the compressor works harder and longer to do the same job - raising energy use and shortening the compressor's life. On most models, coils are located at the back or beneath the unit behind a kick plate.
Unplug the refrigerator before cleaning. Use a coil brush (available at most hardware stores) or the brush attachment on a vacuum to remove buildup. Aim to do this every six to twelve months, or more often in households with pets. Always consult your appliance manual for the exact location and any model-specific guidance.
Dusty condenser coils force the compressor to overwork, raising energy use and accelerating wear.
Clear the dryer exhaust duct
The lint trap catches most debris, but fine lint still accumulates inside the exhaust duct that runs from your dryer to the exterior vent. A restricted duct forces the dryer to run longer cycles, wastes energy, and - critically - creates a fire risk. The U.S. Fire Administration identifies clogged dryer vents as a significant cause of residential fires.
Disconnect the duct from both the dryer and the wall annually and use a long-handled brush to clear any buildup. Check that the exterior vent flap opens freely when the dryer runs. If the duct run is long, has multiple bends, or is difficult to access, consider hiring a professional duct-cleaning service.
A clogged dryer exhaust duct is both an energy drain and a documented fire hazard.
Descale the dishwasher and washing machine
In areas with hard water - water containing elevated levels of calcium and magnesium - mineral scale gradually coats heating elements, spray arms, and drum interiors. This reduces cleaning effectiveness and makes heating elements work harder. Left unchecked, scale can shorten component life noticeably.
Running an empty hot cycle with a dishwasher-safe descaling agent (following package directions) every one to three months, depending on your water hardness, is a common approach. For washing machines, descaling tablets or a hot maintenance wash serve the same purpose. Check the interior of the dishwasher spray arms periodically - small holes can become clogged and are usually cleared with a toothpick.
Mineral scale from hard water quietly degrades heating elements and spray performance over time.
Inspect and clean refrigerator door gaskets
The rubber seals around refrigerator and freezer doors - called gaskets - keep cold air in and warm air out. When they crack, stiffen, or collect mold and food residue, the seal weakens. The refrigerator then runs more frequently to compensate, using more electricity and wearing down the compressor.
Wipe gaskets monthly with a damp cloth and mild soap. To test the seal, close the door on a sheet of paper; you should feel slight resistance when pulling it out. If the paper slides out easily, the gasket may need replacing - a relatively inexpensive repair that most homeowners can do themselves using a replacement part from the manufacturer.
A failing door gasket causes the refrigerator to run almost continuously, wasting energy.
Replace range hood filters
Range hood filters - typically aluminum mesh or baffle-style - capture grease particles that would otherwise coat the interior of the hood, the ductwork, and eventually the fan motor. Saturated filters restrict airflow, reducing the hood's ventilation effectiveness and creating a grease buildup that is difficult to clean and poses a fire risk over time.
Most mesh filters can be washed in hot soapy water or on the top rack of a dishwasher. How often depends on how frequently you cook; monthly cleaning is a reasonable target for regular home cooks. Check your manual - some hoods use charcoal filters that must be replaced rather than cleaned, typically every three to six months.
Grease-saturated range hood filters restrict airflow and gradually coat the fan motor in residue.
Flush the water heater's sediment
In water heaters - particularly tank-style units - minerals from the water supply settle at the bottom of the tank over time. This sediment layer insulates the water from the heating element or burner, forcing it to work longer and harder. It can also cause rumbling or popping sounds and, eventually, accelerate corrosion of the tank itself.
Flushing a small amount of water from the drain valve annually helps remove loose sediment. However, on older units that have never been flushed, disturbing the sediment can cause the valve to leak afterward. If your water heater is more than several years old and has not been maintained, consult a licensed plumber before attempting this task yourself.
Sediment buildup at the bottom of a water heater tank quietly shortens the unit's usable life.
Keeping Up the Habit
The most effective approach is to attach these tasks to something you already do - a seasonal clean, a calendar reminder, or a home walkthrough at the change of a smoke-alarm battery. None of them require specialist knowledge, but all of them reward consistency.
Build a simple appliance maintenance log
Keep a basic note - on paper or in a phone app - recording when you last performed each task and what you noticed. This makes it easier to spot patterns (a filter clogging faster than usual, for example) and provides useful context if you ever do need a technician. It also helps you stay aligned with the typical lifespans for your appliances, so you can plan ahead rather than react to failures.
If an appliance is already behaving oddly, maintenance may not be enough. Our appliance troubleshooting basics guide walks through what to check safely before booking a service call. And if you're weighing whether an older unit is worth maintaining at all, the repair-or-replace decision guide can help you think through the financial and practical trade-offs clearly.

Home Editorial Team
Home Editorial Team is the collective byline for our editorial team and contributor network. Articles published under this byline or an editorial pen name are researched, written, and reviewed according to our editorial standards for clarity, consistency, and independence before publication.
View author profile