
Before You Call a Technician: Appliance Troubleshooting Basics
Many common appliance faults have simple explanations. Learn what to check first — safely — before booking a service call.
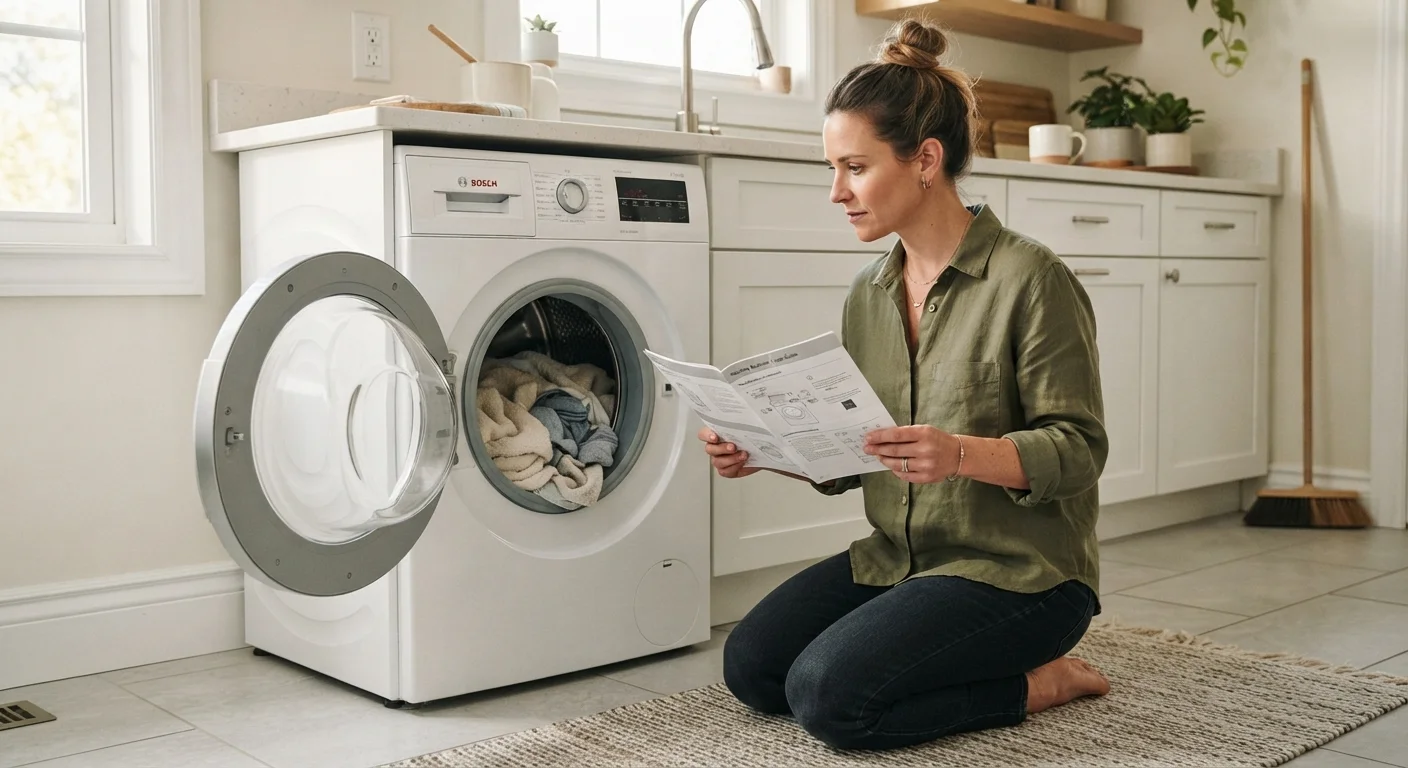
Photo: SummarizedReads.net | Just Read It! editorial
—— In This Article
Key Takeaways
- Many apparent appliance failures trace back to simple issues like tripped breakers or clogged filters.
- Always cut power before inspecting any appliance component - safety comes first.
- Error codes in your owner's manual can diagnose most modern appliance faults without a technician.
- Documenting symptoms before calling a repair service helps technicians diagnose problems faster.
- Some faults - particularly electrical, gas, or structural - must be handled by a licensed professional.
Why Basic Troubleshooting Is Worth Your Time
A dishwasher that won't start. A dryer that runs but doesn't heat. A refrigerator making an unfamiliar noise. These symptoms feel alarming, but a surprising number of them have explanations that take minutes to rule out - no tools required.
Service calls can cost anywhere from $75 to $150 just for a technician to arrive, before any repair work is factored in. Running through a structured checklist first can either resolve the problem outright or, at minimum, give a technician the precise symptom information they need to work efficiently. If you're newer to living with major appliances, our first-time buyer's orientation covers the broader landscape of what each appliance does and how it's designed to behave.
Keep Records From Day One
Store your appliance manuals, purchase receipts, and warranty documents in one folder - physical or digital. When a fault appears, you'll have the model number, warranty status, and troubleshooting guide immediately to hand. This habit alone can save significant time and money over the life of an appliance.
What You'll Need Before You Start
Gather a few basics before working through any appliance problem. You don't need specialist equipment - just the right information and a cautious approach.
What you will need
Owner's Manual
Provides model-specific error codes, reset procedures, and filter or part locations.
Flashlight or Phone Torch
Allows you to inspect interior compartments, drain filters, and connections without adequate overhead lighting.
Multimeter
Allows you to verify whether an outlet is supplying power, useful if the circuit breaker appears untripped.
Notepad or Notes App
Records error codes, symptom timing, and what you've already checked - invaluable when speaking with a technician.
Step-by-Step: Working Through a Common Appliance Fault
Work through these steps in order. Each one eliminates a category of causes before you move to the next. Keep a notepad or your phone handy to record what you find - that log becomes useful if you do end up calling a technician.
Cut Power to the Appliance
Before touching any component, unplug the appliance or switch off its dedicated circuit breaker. This applies even when the appliance appears completely dead - capacitors in some units can hold a charge after the power is removed.
Check the Obvious Power Supply Causes
Restore power temporarily and verify the appliance is plugged firmly into the outlet. Test the outlet with another device (a lamp or phone charger) to confirm it's live. Check your electrical panel for any tripped breakers - a tripped breaker sits in a middle position rather than fully on or off. Reset it once by switching it fully off, then back on.
Note Any Error Codes or Indicator Lights
Modern appliances display error codes when a sensor detects an out-of-range condition. Write down the exact code shown, then look it up in your owner's manual's troubleshooting section. Many codes point to simple fixes - a door that isn't fully latched, a filter that needs cleaning, or a sensor that needs resetting - rather than component failures.
Inspect and Clean Accessible Filters and Vents
Blocked airflow or drainage is among the most common causes of performance failure across appliance types. Check and clean the following based on which appliance is affected:
- Dryer: lint trap and exterior vent duct for blockage
- Dishwasher: filter basket at the base of the tub
- Refrigerator: condenser coils (typically at the back or beneath the unit) and door gaskets
- Washing machine: pump filter (usually behind a small access panel at the front base)
Restore power and retest before continuing.
Perform a Hard Reset
If the issue persists, disconnect the appliance from power for 60 seconds, then restore it. This clears the control board's temporary memory - the equivalent of restarting a computer - and resolves many intermittent electronic faults without any further intervention.
Document What You've Found
Record the appliance model number, the symptoms (when they started, how consistently they occur, any sounds or smells), the error code if applicable, and which steps you've already completed. This documentation shortens a technician's diagnostic time and reduces the chance of being charged for steps you've already ruled out.
Warranty Work Must Go Through Authorised Channels
If your appliance is still under manufacturer's warranty or an extended service plan, check the terms before attempting any repair yourself. Some warranties are voided if an unauthorised person opens a panel or replaces a component. Contact the manufacturer or your warranty provider first to understand what's covered and who is authorised to carry out the work.
When to Stop Troubleshooting and Call a Professional
DIY troubleshooting has clear limits. Stop and call a licensed technician if you detect a gas smell near your range or dryer, see scorch marks or smell burning near electrical components, find standing water you can't trace to a simple drain blockage, or notice the appliance sparking or making a grinding sound under load.
These symptoms can indicate hazards that go well beyond a nuisance fault. Attempting to diagnose electrical or gas faults without training risks serious injury and may void your warranty. If you're weighing whether repair even makes financial sense at this point, our guide on repairing vs. replacing a broken appliance walks through the key decision factors.
For faults you resolve yourself, consider scheduling a check of the routine maintenance tasks that tend to get skipped - they're often what sets up the next fault. And once everything's running again, the habits covered in getting the most out of every appliance you own can help extend the life of each machine meaningfully.
Gas and Electrical Faults Require a Professional
If you smell gas, see burn marks, or notice sparking at any point during your checks, stop immediately, leave the area, and contact your utility provider or emergency services as appropriate. Do not attempt to diagnose or repair gas connections or internal wiring yourself - these are regulated tasks in most jurisdictions and carry serious safety risks.

Home Editorial Team
Home Editorial Team is the collective byline for our editorial team and contributor network. Articles published under this byline or an editorial pen name are researched, written, and reviewed according to our editorial standards for clarity, consistency, and independence before publication.
View author profile