
Tile vs. Luxury Vinyl Plank: Picking the Right Floor for Wet Rooms
Comparing ceramic tile and LVP for bathrooms and kitchens? Here's how each holds up against moisture, foot traffic, and DIY installation.
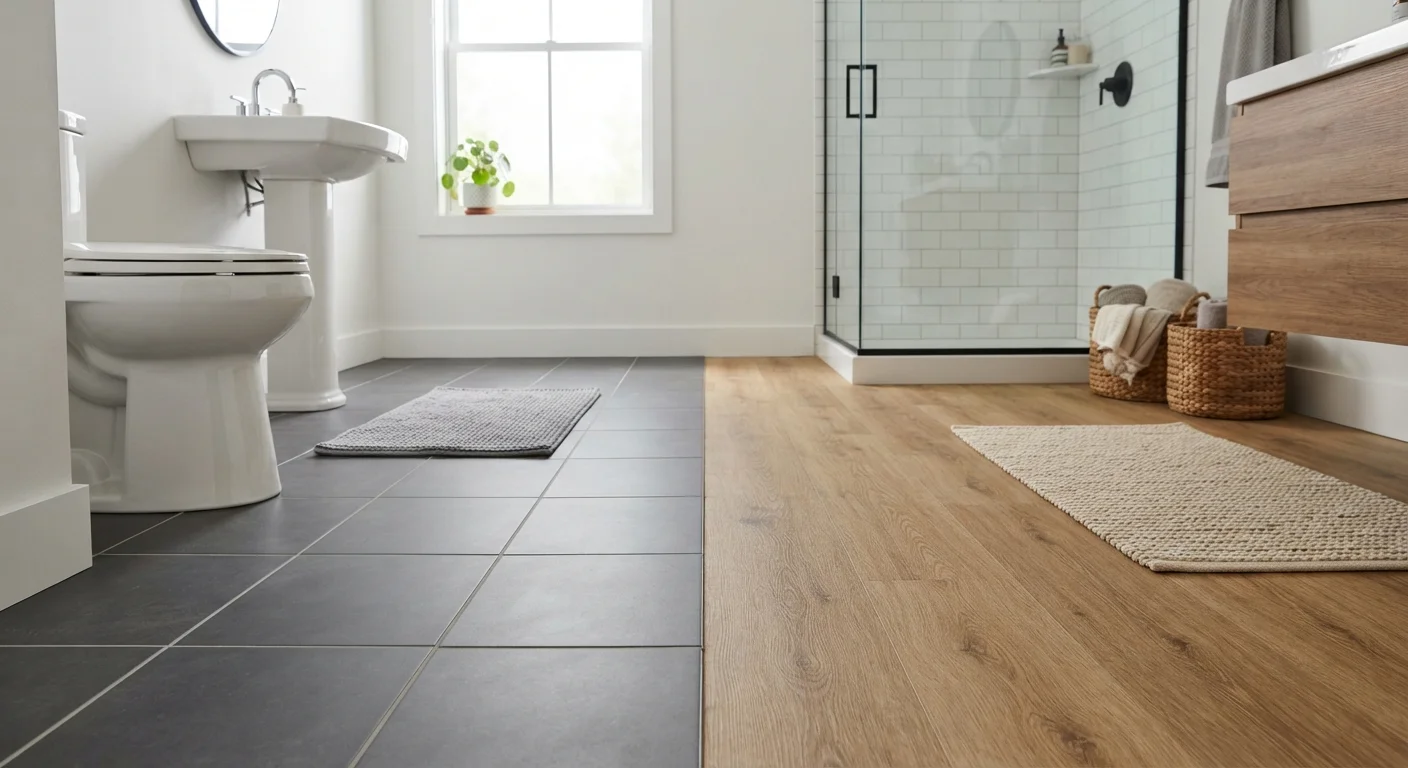
Photo: SummarizedReads.net | Just Read It! editorial
—— In This Article
Key Takeaways
- Ceramic and porcelain tile are fully waterproof at the surface but require properly sealed grout lines to prevent moisture infiltration.
- Quality LVP is water-resistant to waterproof depending on the core construction, but seams can allow water penetration over time.
- Tile installation is more labor-intensive and typically costs more upfront; LVP is generally faster and cheaper to install.
- Tile lasts decades with proper maintenance; LVP typically carries warranties of 15-25 years under residential use.
- Both materials work well in kitchens and bathrooms, but tile is usually the stronger choice for shower floors and areas with standing water.
How Each Material Handles Moisture
Moisture performance is the defining concern for any wet-room floor, and the two materials handle it differently in ways that matter.
Ceramic and porcelain tile are impervious to water at the surface - the fired clay absorbs essentially none. The weak point is the grout. Standard sanded or unsanded grout is porous and will absorb moisture, harbor mold, and eventually crack if left unsealed. Epoxy grout is more resistant but harder to work with. With properly sealed grout - and re-sealing every year or two - a tiled floor can hold up against moisture for decades. See our room-by-room grout maintenance guide for a practical upkeep schedule.
Luxury vinyl plank (LVP) comes in several core constructions. WPC (wood-plastic composite) and SPC (stone-plastic composite) cores are both 100% waterproof through the plank itself. The vulnerability is the seams: water that sits on the floor long enough can migrate through click-lock joints and reach the subfloor beneath. In a bathroom with normal splash exposure this is rarely a problem; in a space with persistent standing water, it's a real risk. LVP should never be installed inside a shower enclosure.
| Criterion | Ceramic / Porcelain Tile | Luxury Vinyl Plank (LVP) |
|---|---|---|
| Surface waterproofing | Fully waterproof surface | Waterproof plank; seams are a risk |
| DIY installation ease | Moderate to difficult | Easy to moderate |
| Typical material cost | $1-$5 per sq ft | $2-$7 per sq ft |
| Comfort underfoot | Hard, cold | Softer, warmer |
| Lifespan (residential) | 30+ years possible | 15-25 years typical |
| Grout maintenance required | Yes - annual sealing recommended | None |
| Safe for shower floors | Yes (with slip-rated tile) | No |
| Damage repair | Chip/crack requires tile replacement | Individual planks replaceable |
Installation Difficulty and Real Cost Differences
Installation is where the two materials diverge most sharply for DIYers.
Tile installation requires a flat, stable subfloor - often reinforced with cement backer board - plus thinset mortar, tile spacers, grout, and grout sealer. It's a multi-day process that demands patience and some skill to keep lines level and consistent. Mistakes are hard to reverse once the mortar sets. The difference between caulk and grout placement also becomes relevant at tile edges and transitions - getting that wrong leads to costly repairs.
LVP floats over the subfloor (or is glued down in some formats) and snaps together with a click-lock system. Most homeowners with basic tool skills can complete a bathroom or kitchen floor in a day. The subfloor still needs to be reasonably flat - most manufacturers specify no more than 3/16 inch variation over 10 feet - but you skip the mortar stage entirely.
3/16"
Max subfloor flatness variance for LVP
Most LVP manufacturers specify no more than 3/16 inch variation over a 10-foot span; exceeding this risks joint failure and voided warranties.
6-22 mil
Residential LVP wear-layer thickness range
Wear-layer thickness is the primary indicator of scratch and scuff resistance; heavier-traffic areas generally benefit from 12 mil or above.
On materials alone, ceramic tile typically runs $1-$5 per square foot for standard options, while LVP ranges from $2-$7 per square foot depending on wear-layer thickness and core type. Professional installation adds $5-$10 per square foot for tile and $3-$6 for LVP in most US markets, though prices vary widely by region.
Durability, Comfort, and Long-Term Maintenance
Tile is exceptionally hard - which means it's scratch-proof, holds up under heavy appliances, and can last the lifetime of the home. The downside is that same hardness: tile is cold underfoot, unforgiving on dropped dishes, and tiring to stand on during long cooking sessions. It also chips if struck sharply, and a cracked tile usually requires full replacement rather than a simple patch.
LVP is softer and warmer underfoot, has a slight give that makes it more comfortable for long periods of standing, and won't shatter dropped items as readily. Its wear layer - typically 6 to 22 mil thick in residential products - determines how well it resists scratches and gouges. High-traffic kitchens benefit from 12-mil or thicker wear layers. Unlike tile, damaged planks can often be replaced individually if you have leftover material on hand.
Tile maintenance involves regular grout upkeep; LVP requires only routine sweeping and damp mopping. Neither needs waxing or refinishing. For broader bathroom material decisions, our look at moisture-resistant bathroom coatings puts wall and floor choices in fuller context.
Check Local Codes Before You Install
Some jurisdictions require permits or licensed contractors for bathroom floor work tied to plumbing modifications. Even for flooring-only projects, verify that your subfloor meets the structural requirements for tile, which is significantly heavier than LVP. When in doubt, consult a licensed contractor before committing to either material.

Home Editorial Team
Home Editorial Team is the collective byline for our editorial team and contributor network. Articles published under this byline or an editorial pen name are researched, written, and reviewed according to our editorial standards for clarity, consistency, and independence before publication.
View author profile