
Home Improvement for Complete Beginners: Where to Actually Start
New to DIY? This guide covers the foundational skills, essential tools, and realistic first projects for homeowners starting from scratch.
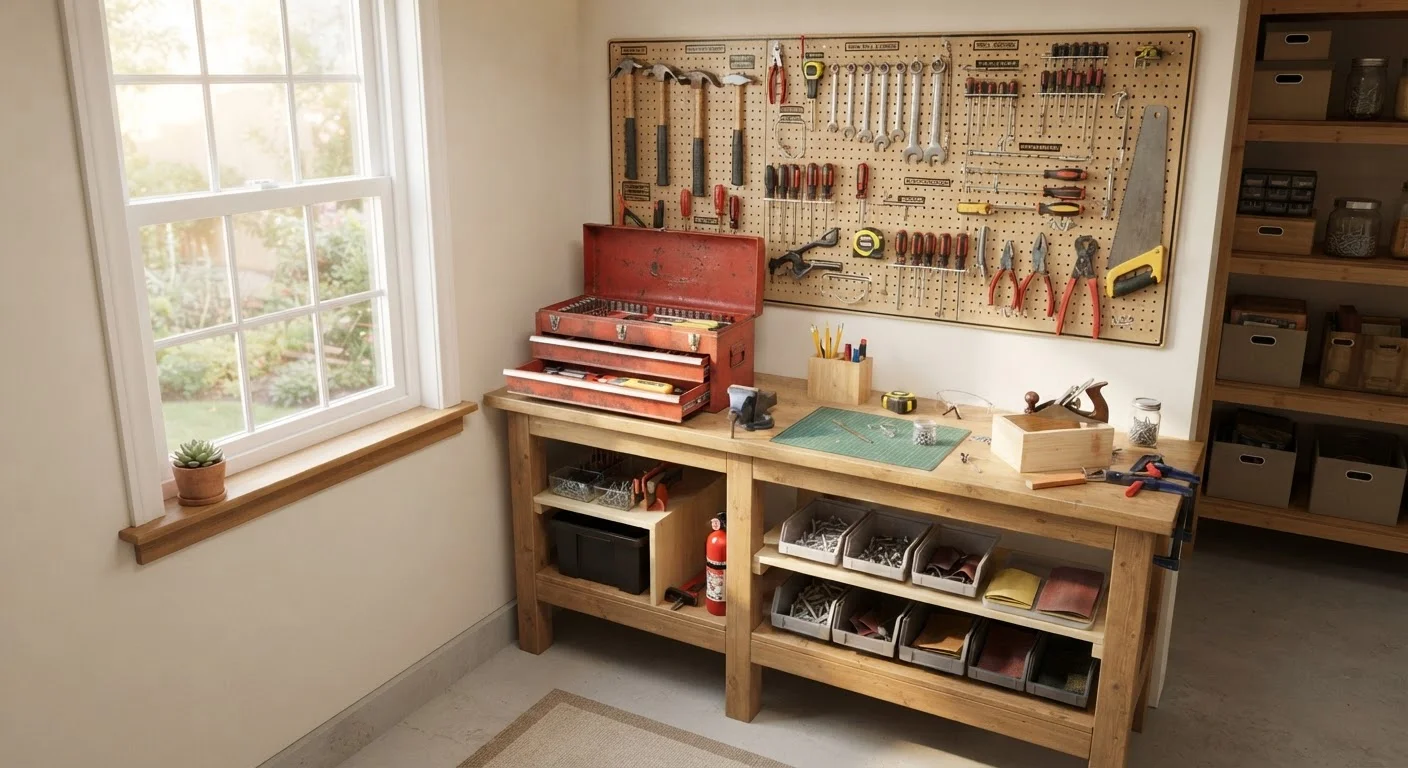
Photo: SummarizedReads.net | Just Read It! editorial
—— In This Article
Key Takeaways
- Most beginner-friendly home improvement projects require only a small set of basic hand tools.
- Starting with low-risk, low-cost tasks builds the skills needed for more complex work.
- Electrical, gas, structural, and plumbing work typically requires licensed professionals and permits.
- Understanding project scope before you begin prevents costly mid-project surprises.
- Free resources - videos, library books, community classes - can replace expensive courses.
Why Beginners Stall Before They Start
Most people don't avoid home improvement because they lack aptitude - they avoid it because they don't know where the on-ramp is. The internet offers an overwhelming mix of advanced tutorials, conflicting advice, and tool lists that assume you already own a fully stocked workshop. That gap between "I should fix that" and "I know how to fix that" is where most beginners spend years.
The honest truth is that home improvement is a set of learnable skills, not an innate talent. Every competent DIYer started by patching something badly, then slightly less badly, then well. The goal of this guide is to collapse that learning curve by giving you a clear, realistic starting point - not a fantasy renovation roadmap.
Before anything else, it helps to do a simple walk-through of your home and make a list of small, nagging problems: a drafty window, a sticky door latch, chipped paint in the hallway. These aren't glamorous, but they're exactly the right scale for a first project. Fixing them teaches real skills without real consequences if something goes slightly wrong.
Load-bearing wall
A wall that supports the weight of the structure above it. Removing or altering one without proper engineering can cause serious structural damage and requires professional assessment.
Caulk
A flexible sealant applied to gaps around windows, tubs, and other joints to block drafts, water, and pests. It comes in tubes and is applied with a caulk gun.
Pilot hole
A small hole drilled before driving a screw or nail to prevent wood from splitting and to ensure the fastener goes in straight.
Weatherstripping
Sealing material applied around doors and windows to block gaps that let in drafts and moisture. It's one of the easiest and most cost-effective home improvements.
Feathering
A technique for blending patching compound or paint into the surrounding surface so repairs become invisible. Involves thinning the material at the edges of a repair.
Building permit
Official approval from your local government required before certain construction or renovation work. It ensures the work meets safety codes and is inspected when complete.
Your First Tool Kit: What You Actually Need
Resist the urge to buy a large tool set upfront. Most beginner projects require fewer than ten tools, and buying only what you need for each job keeps costs manageable while teaching you what each tool actually does.
A practical starter kit includes:
- Tape measure - 25 feet covers most interior work.
- Hammer - a 16-oz claw hammer handles nails and light demolition.
- Flathead and Phillips screwdrivers - multiple sizes matter; a set of four covers most fasteners.
- Adjustable wrench - useful for plumbing fixtures and hardware.
- Utility knife - for scoring drywall, cutting caulk, and trimming materials.
- 4-foot level - essential for anything that needs to hang straight.
- Cordless drill-driver - the single power tool worth buying early; it handles screws, anchors, and pilot holes.
For a deeper look at what each hand tool does and how to use it safely, see our guide on hand tools every DIY homeowner should understand.
Borrow before you buy
Many libraries now offer tool lending programs, and some hardware cooperatives let members rent tools by the day. Before purchasing a tool you'll use only once or twice, check whether a local library, neighbor, or tool-share program has it available. This keeps startup costs low while you learn what you actually use regularly.
Realistic First Projects (and What to Skip)
Good first projects share three qualities: they're low-risk if something goes wrong, they cost little to redo, and they teach skills that transfer to harder tasks later. Here's a practical breakdown:
Start with these
- Caulking - sealing gaps around tubs, sinks, and windows is inexpensive, immediately useful, and forgiving. A bad caulk line can be removed and redone.
- Painting interior walls - teaches surface prep, which is the foundation of most finishing work. Mistakes are fixable with another coat.
- Replacing door hardware - swapping a doorknob or deadbolt typically requires only a screwdriver. It builds confidence with fasteners and mechanisms.
- Patching small drywall holes - nail holes and minor scuffs are beginner-friendly repairs that teach feathering and finishing techniques.
- Weatherstripping - improves energy efficiency and requires only basic cutting and adhesion skills.
Hold off on these
Electrical panel work, gas appliance connections, load-bearing wall removal, roof repairs, and main plumbing line work are not beginner territory - not because they're impossible to learn, but because errors carry serious safety and financial consequences. Many also require permits and licensed contractors by law. See our companion piece on when permits are required to understand the regulatory side before you plan any significant project.
Knowing When to Call a Pro
One of the most useful skills a beginner can develop is recognizing the boundary between DIY and professional work. That boundary isn't about courage or budget - it's about safety and legal compliance.
As a general rule, hire a licensed professional for any work involving:
- Electrical wiring, panels, or outlets (beyond replacing a light switch in a straightforward situation).
- Gas lines, furnaces, or water heaters.
- Structural changes, including walls that may be load-bearing.
- Roof installation or significant roof repair.
- Main water or sewer line connections.
The financial calculus matters too. DIY carries real trade-offs - a mistake on a $200 fixture can turn into a $2,000 repair. If the cost of a failed attempt approaches or exceeds the cost of a professional, the math usually favors calling someone who does it daily.
Never skip permits on regulated work
Unpermitted work on electrical, plumbing, or structural projects can complicate your homeowner's insurance claims and create problems when you sell the home. In some jurisdictions, unpermitted work must be torn out and redone at the homeowner's expense. Always verify local permit requirements with your municipal building department before starting any significant project.
If you're planning a larger renovation and considering financing options, it's worth understanding what home improvement loans actually cover before committing to a scope of work.
Building Confidence Over Time
Home improvement competence is cumulative. Each project teaches something - how materials behave, how fasteners work, how to read a level, how to prep a surface. That knowledge compounds over time in a way that no tool purchase can shortcut.
A practical progression looks something like this: start with caulking and painting, move to hardware replacement and minor patching, then work toward tile repair, fixture swaps, and basic carpentry. At each stage, document what you did, what worked, and what you'd do differently. That habit alone separates beginners who stay stuck from those who steadily improve.
Free resources are genuinely useful here. Instructional videos from licensed tradespeople, public library repair manuals, and free workshops at local hardware stores can replace expensive courses. The key is learning from sources that acknowledge safety and code requirements, not just technique.
As you get your home in better shape, you may also find it useful to think about organization alongside improvement. Our guide on home organization for renters and first-time homeowners covers how to build practical systems that make a well-maintained home easier to manage day to day.
The best first project is the one you start. Pick the smallest, most nagging problem on your list - gather the two or three tools it actually requires - and do it this weekend. Everything else follows from there.
Frequently Asked Questions

Home Editorial Team
Home Editorial Team is the collective byline for our editorial team and contributor network. Articles published under this byline or an editorial pen name are researched, written, and reviewed according to our editorial standards for clarity, consistency, and independence before publication.
View author profile